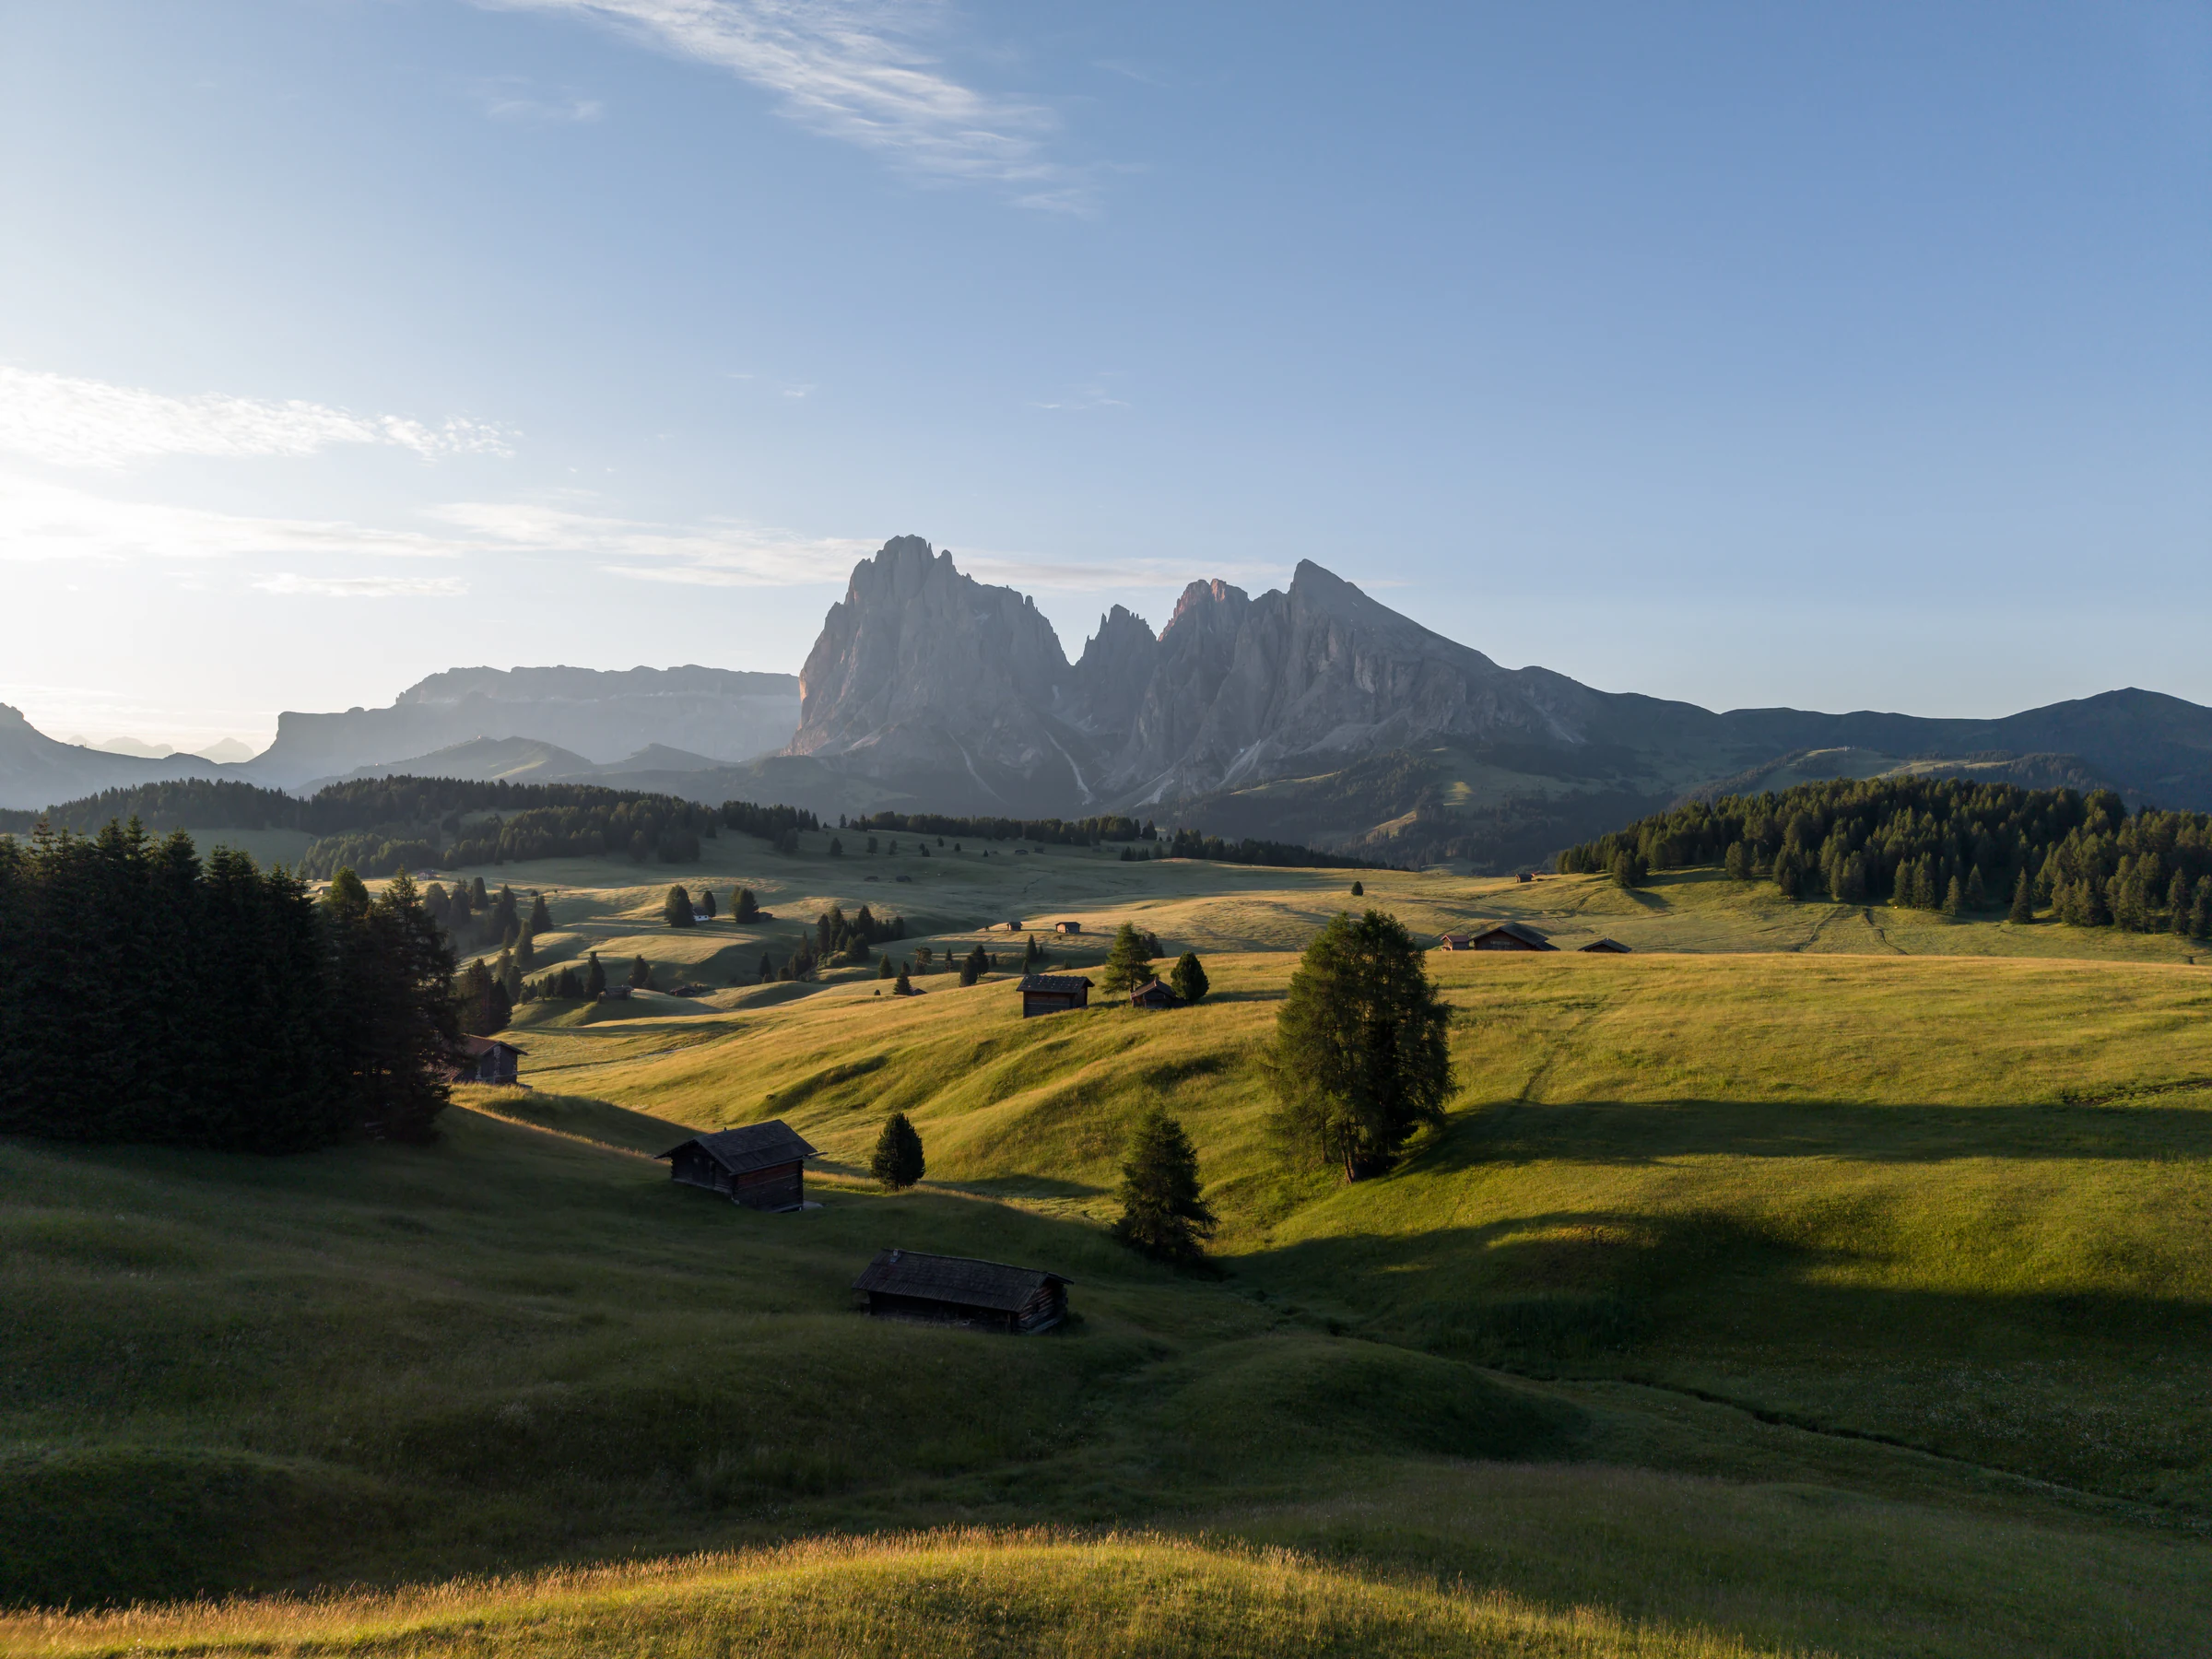
For most travel video, lock frame rate, shutter, white balance, and colour mode before takeoff. Use ND only when you need less light to hold that shutter. Change one variable at a time, expose for the important highlights, and capture a short test clip before the real move.
Four starting setups for landscape video.
These are production starting points, not promises that one recipe fits every scene. Wind, light, subject speed, output format, and the exact aircraft configuration determine the final choice.
Calm daylight landscape
Start with: 4K at 24 or 30 fps; shutter near 1/50 or 1/60; fixed daylight white balance; low ISO; standard colour for a fast edit or D-Log M when you will grade.
Adjust when: wind causes micro-jitter, the drone yaws quickly, or the subject crosses frame. A somewhat faster shutter may look cleaner than forcing cinematic blur.
Walking, cycling, and vehicle movement
Start with: 4K at 60 fps when slow motion is useful; a shutter around 1/120 for conventional motion blur; fixed white balance; focus and exposure checked on the moving subject.
Adjust when: the subject moves unpredictably. Prioritize a safe flight path, lateral clearance, and visible detail over a lower shutter target.
Sunrise, sunset, and blue hour
Start with: 24 or 30 fps; manual white balance; the lowest practical ISO; histogram or highlight warnings visible; exposure protected for the bright sky.
Adjust when: the ground becomes too dark for the story. Recompose, wait for balanced light, or capture a separate exposure instead of lifting noisy shadows aggressively.
Snow, water, and high-contrast scenes
Start with: fixed white balance, low ISO, highlight monitoring, and a short test pan. Check glare, the direction of light, and the live histogram before leaving the launch area.
Adjust when: white snow turns gray or clips. Exposure compensation can help in an automatic mode; in manual, expose from the image and histogram rather than a memorized number.
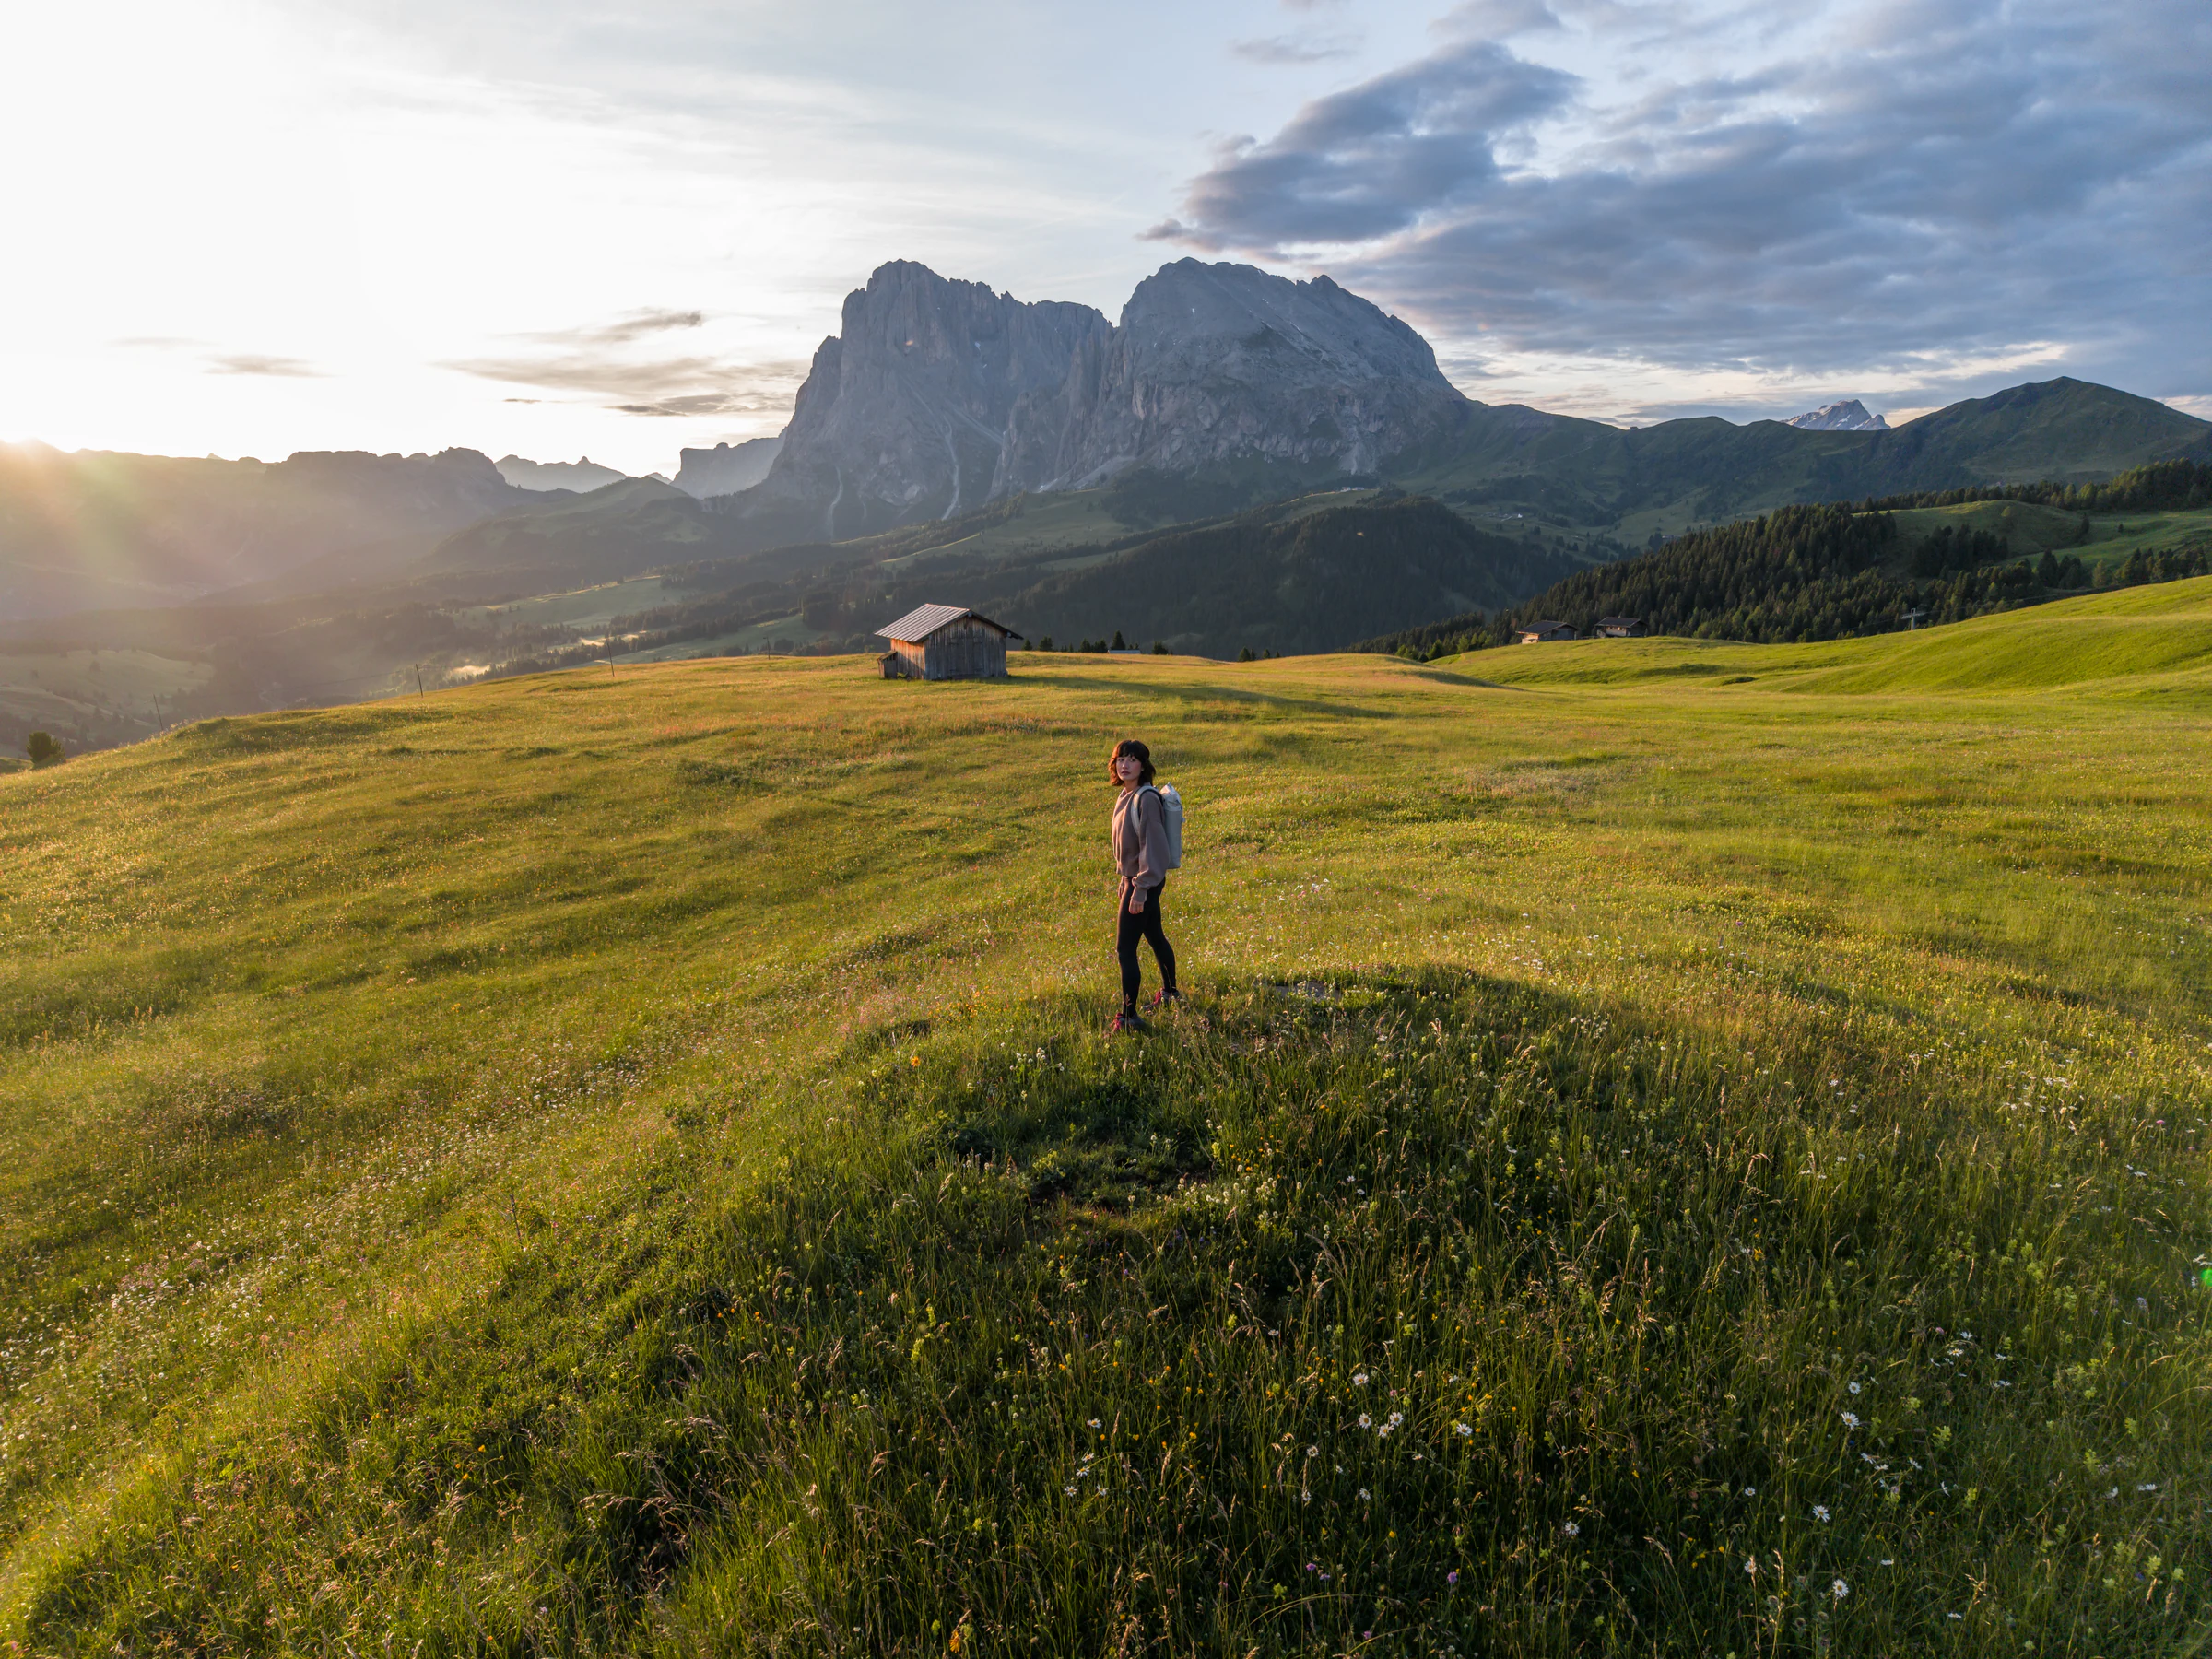
Choose ND by the light you need to remove.
DJI’s published ND guide describes neutral-density filters as light-control tools. For video, that can let you keep a preferred shutter in bright conditions. For long-exposure photos, it can make a slower shutter possible without immediately overexposing the frame.
A field method that avoids guessing
- Choose frame rate and the motion character you want.
- Set the shutter target and low ISO.
- Read the live exposure without a filter.
- Add only enough ND to bring the exposure into range.
- Re-check after a major heading, cloud, or altitude change.
Common problems and the first fix to try.
The footage looks sharp but nervous.
A very fast shutter can make each frame crisp while movement feels staccato. If conditions and flight safety allow, use enough ND to return toward your intended shutter. If wind is causing the vibration, land and solve the flight condition first.
Colour changes in the middle of a shot.
Auto white balance may react as the camera turns from warm sunlight to cool shade. Lock white balance for the shot and make controlled changes between takes.
The sky is gone when the ground looks right.
Monitor the highlights, change the angle to reduce contrast, wait for softer light, or expose a separate ground shot. Recovering a clipped sky is not a grading technique.
D-Log M looks gray and disappointing.
Log footage is intended for a managed colour workflow. DJI’s support page lists official D-Log M-to-Rec.709 LUTs for Mini 5 Pro and Osmo Action 6. Apply the correct transform, then make creative adjustments.
Aerial and ground clips do not match.
Align frame rate, shutter intention, manual white balance, and colour pipeline before shooting. Capture the same neutral reference or daylight scene on both cameras when practical.
Case study: turn three published moves into one sequence.
DJI’s published movement tutorial uses seaside views, subject movement, and sweeping landscapes as examples. The useful lesson is not the location; it is the editorial order.
- Geography: open with a wide sweep that establishes terrain and direction.
- Human scale: track parallel to a person or vehicle with a conservative, surveyed path.
- Discovery: end with a reveal from behind foreground texture or a retreat that discloses the full place.
Three disciplined shots give an editor more structure than twenty unrelated orbits. This is a summary and production adaptation of the published ideas, not a reproduction of the tutorial.
Primary and published sources
Rules and product guidance can change. These links were reviewed on August 16, 2026; re-check them before relying on the information for a trip or purchase.
DJI — How ND filters work and when to use themDJI — Three landscape camera-movement ideasDJI Support — D-Log modes and official LUT availability