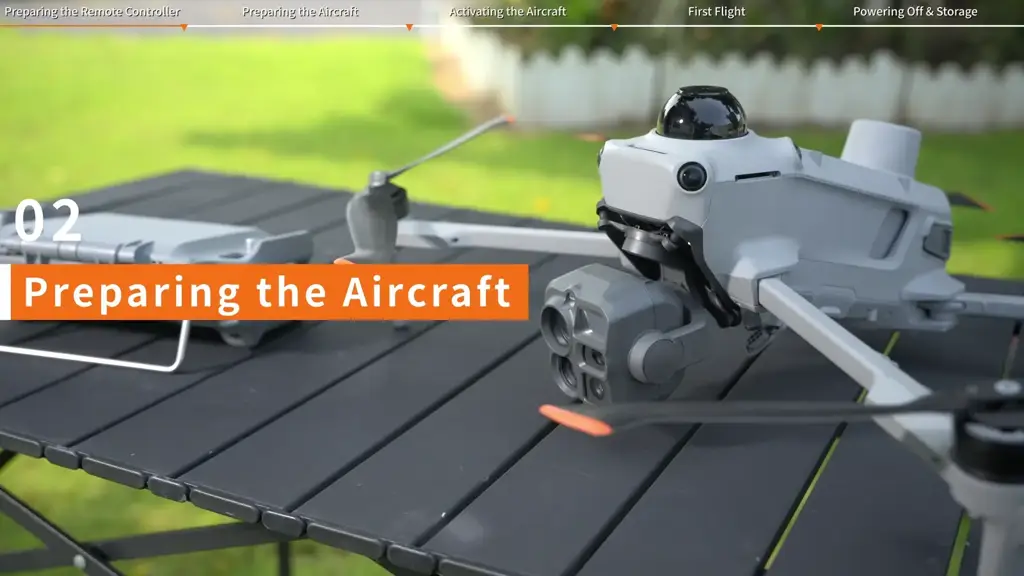
A thermal image becomes more useful when the next person can answer three questions: Where is the observation? What physical feature does it belong to? What should the team examine next? Matrice 5T’s paired camera views support that progression.
Understand the image you are recording
| Camera view | What it contributes | A useful capture |
|---|---|---|
| Wide visible | Site and asset context | A recognisable overview |
| Medium telephoto | A closer look with surrounding detail | The component within the structure |
| Telephoto | Distant visible detail | A specific feature or identifier |
| Thermal | Heat patterns across the scene | The area of interest with its surroundings |
The thermal sensor has 1280 × 1024 native pixels. UHR is a processed 2560 × 2048 output mode. Keep those two descriptions distinct when documenting the camera configuration or comparing equipment.
Step 1: establish the location
Begin with a wide image that identifies the asset and its surroundings. Record a useful location, asset reference and viewing direction. If the assignment involves a repeated inspection, use consistent camera positions and naming so later images are easy to compare.
This first image is the anchor for the rest of the record. A close-up of a warm component is much easier to use when it connects to a recognisable location on the structure.
Step 2: pair thermal and visible views
Open the split-screen options in DJI Pilot 2. The tutorial demonstrates infrared with zoom, zoom with wide view, and camera with map. Choose the pairing that helps answer the current inspection question.
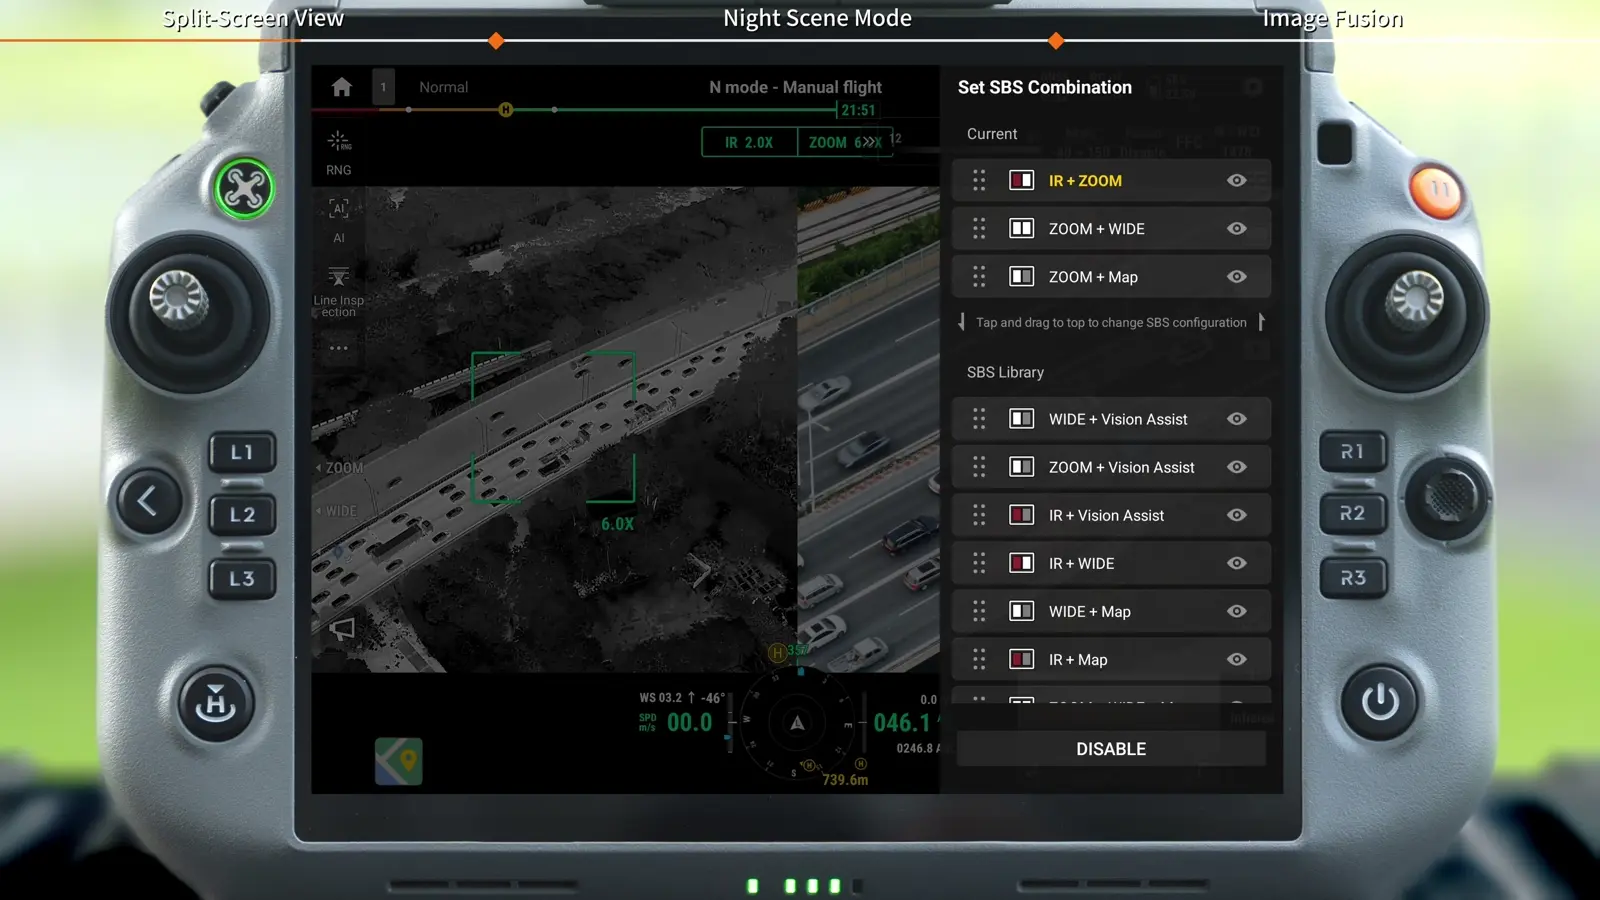
Use thermal to locate a pattern, then examine the corresponding area in the visible image. Record the physical feature and the observed pattern together. For temperature-based work, choose the thermal gain range and measurement settings for the subject, and include the relevant scene conditions in the inspection record.
Step 3: use fusion deliberately
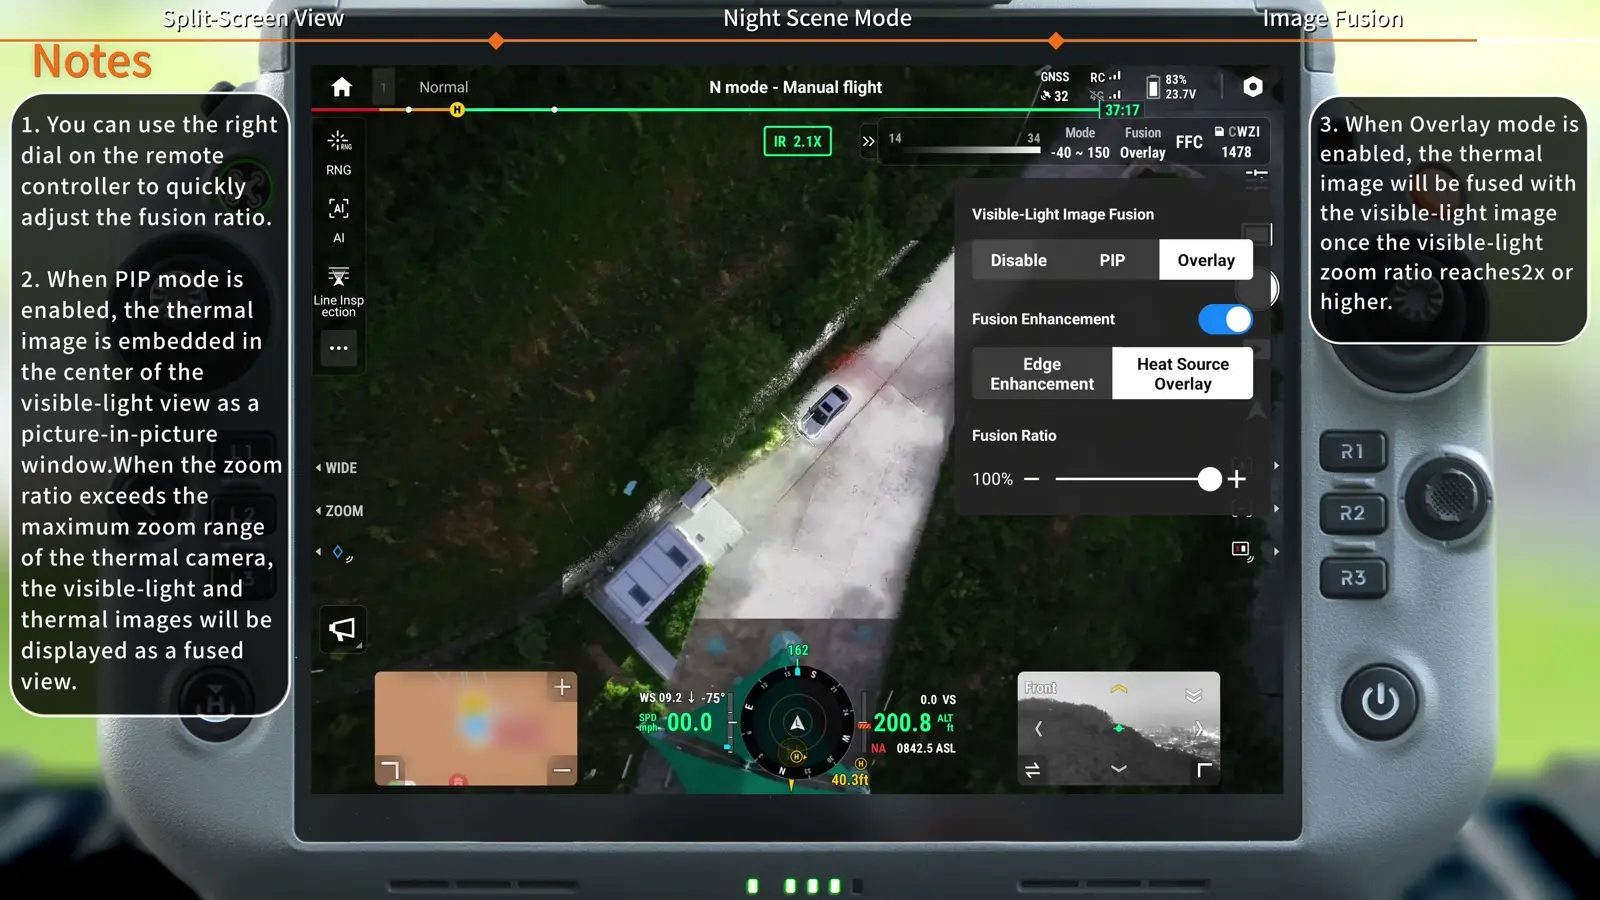
Picture-in-picture preserves a separate thermal window. Overlay places thermal information over the visible scene. Try both against a stationary subject and decide which makes the finding easier to explain. The camera tutorial demonstrates the overlay selection and adjustment workflow, including operation at 2× and above.
Step 4: finish with an actionable record
Keep the overview, detailed visible image and thermal image together. Add the asset identifier, time, camera settings and a short observation. A useful description is concrete: identify the location and pattern, then state the next inspection action.
For a night exercise, practise the Night Scene controls before combining them with a moving aircraft. Review Auto, On and Off, then compare useful image detail. Use Vision Assist to retain flight context while the main camera concentrates on the subject.
Watch the camera lesson · Explore the aircraft
Product references
DJI Matrice 5T specifications · DJI product FAQ · DJI tutorials. Images are frames from the supplied DJI Enterprise videos.
What do you need next?
Two quick paths: book spraying/scouting services, or explore ownership/financing options for drones and parts.
Get drone spraying, precision scouting, and variable-rate applications across Ontario. Fast scheduling and pro operation.
Browse drones, parts, and accessories. If you want a demo or need help choosing, we’ll guide you to the right setup.