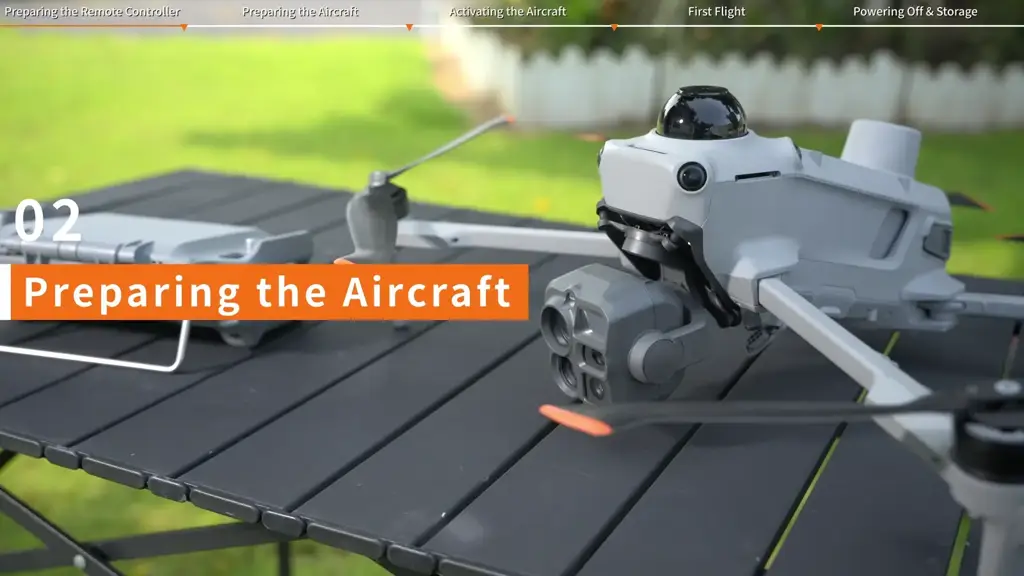
A good first flight starts at the workbench. Prepare the aircraft and controller as one system, then use a short practice flight to establish familiar controls and a dependable handover routine.
1. Lay out and charge the equipment
Identify the aircraft, controller, battery, hub, charger, cables and propellers. Charge the controller and flight battery while reviewing the first-use video. Keep the case layout organized so each item has a known place during pack-down.
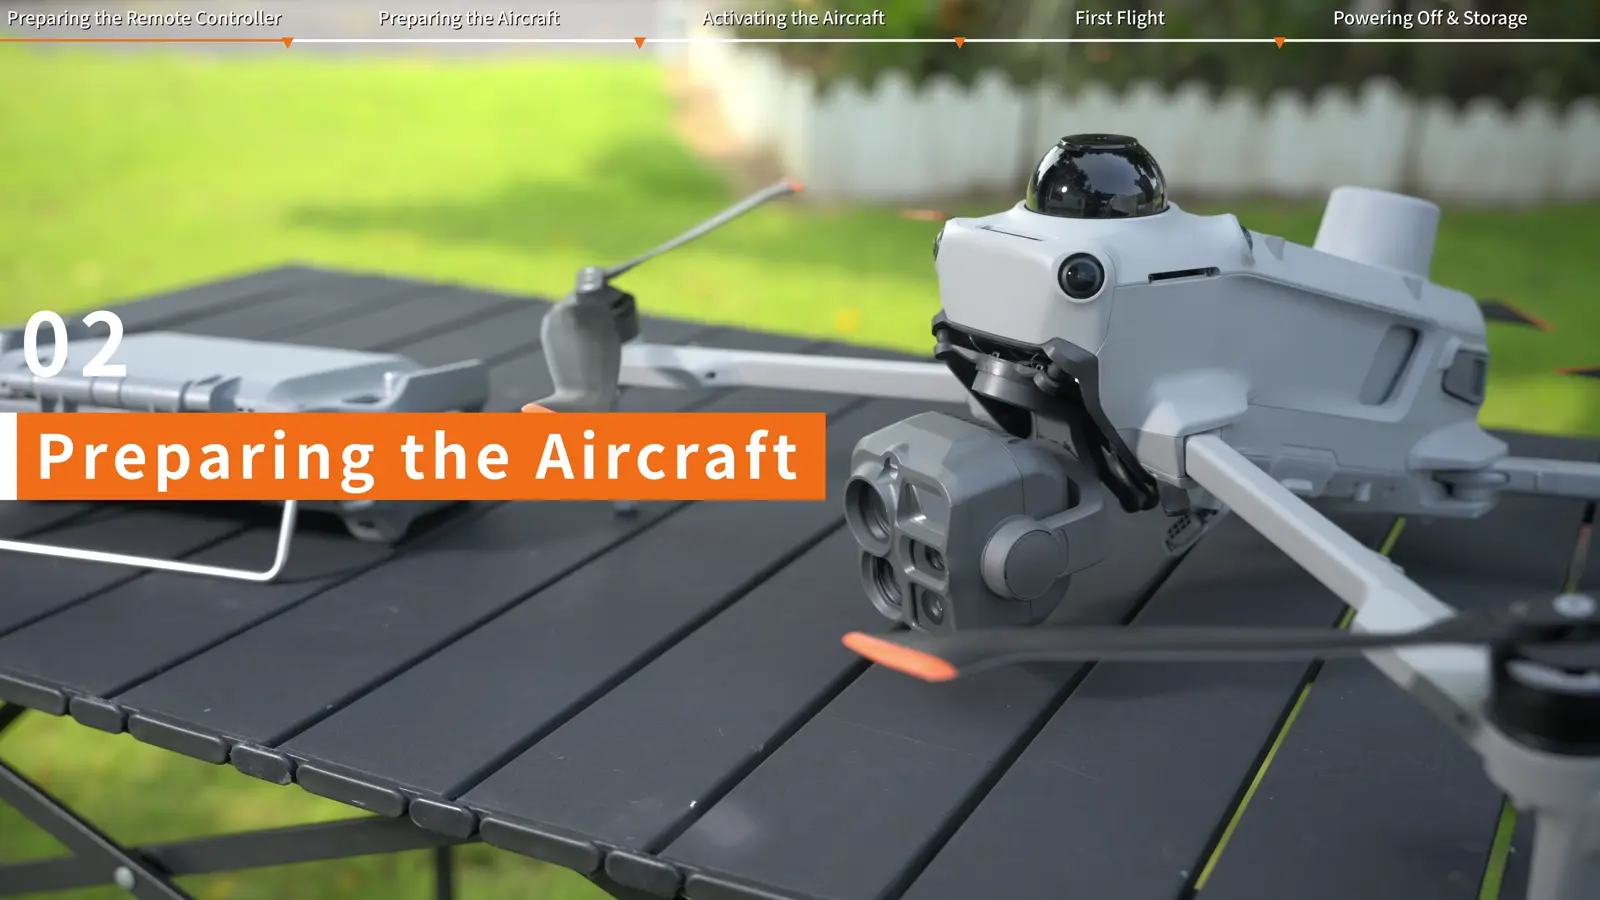
Set aside the gimbal protector before power-on. Inspect the propellers and sensing windows, and follow the unfolding sequence shown by DJI. Match propeller markings to the motors and confirm each propeller is seated correctly.
2. Make battery installation a deliberate check
Insert the battery fully and check both latches. The orange indicators are hidden when the pack is correctly seated. Add this visual and physical check to the team’s normal launch routine.
Assign the check to a person. On a shared aircraft, saying who inspected the battery and propellers makes the handover clearer than assuming the previous operator completed it.
3. Activate, link and update
Connect the controller to the internet for activation and follow DJI Pilot 2’s prompts. Establish the aircraft connection and confirm a live camera image. If linking is required, use the linking interface and the aircraft power-button sequence demonstrated in the lesson.
Review firmware as a complete equipment set: aircraft, controller and fitted accessories. DJI provides online, offline and Assistant 2 workflows. Keep the devices powered through the update, allow the restart to finish and review system status afterward.
First Use lesson · Linking and Controls lesson · Firmware Update lesson
4. Review the flight view before takeoff
Check the displayed aircraft, positioning, home point, battery state and return settings. Look at the actual launch area and the planned return path. Agree on the practice sequence before starting the motors.
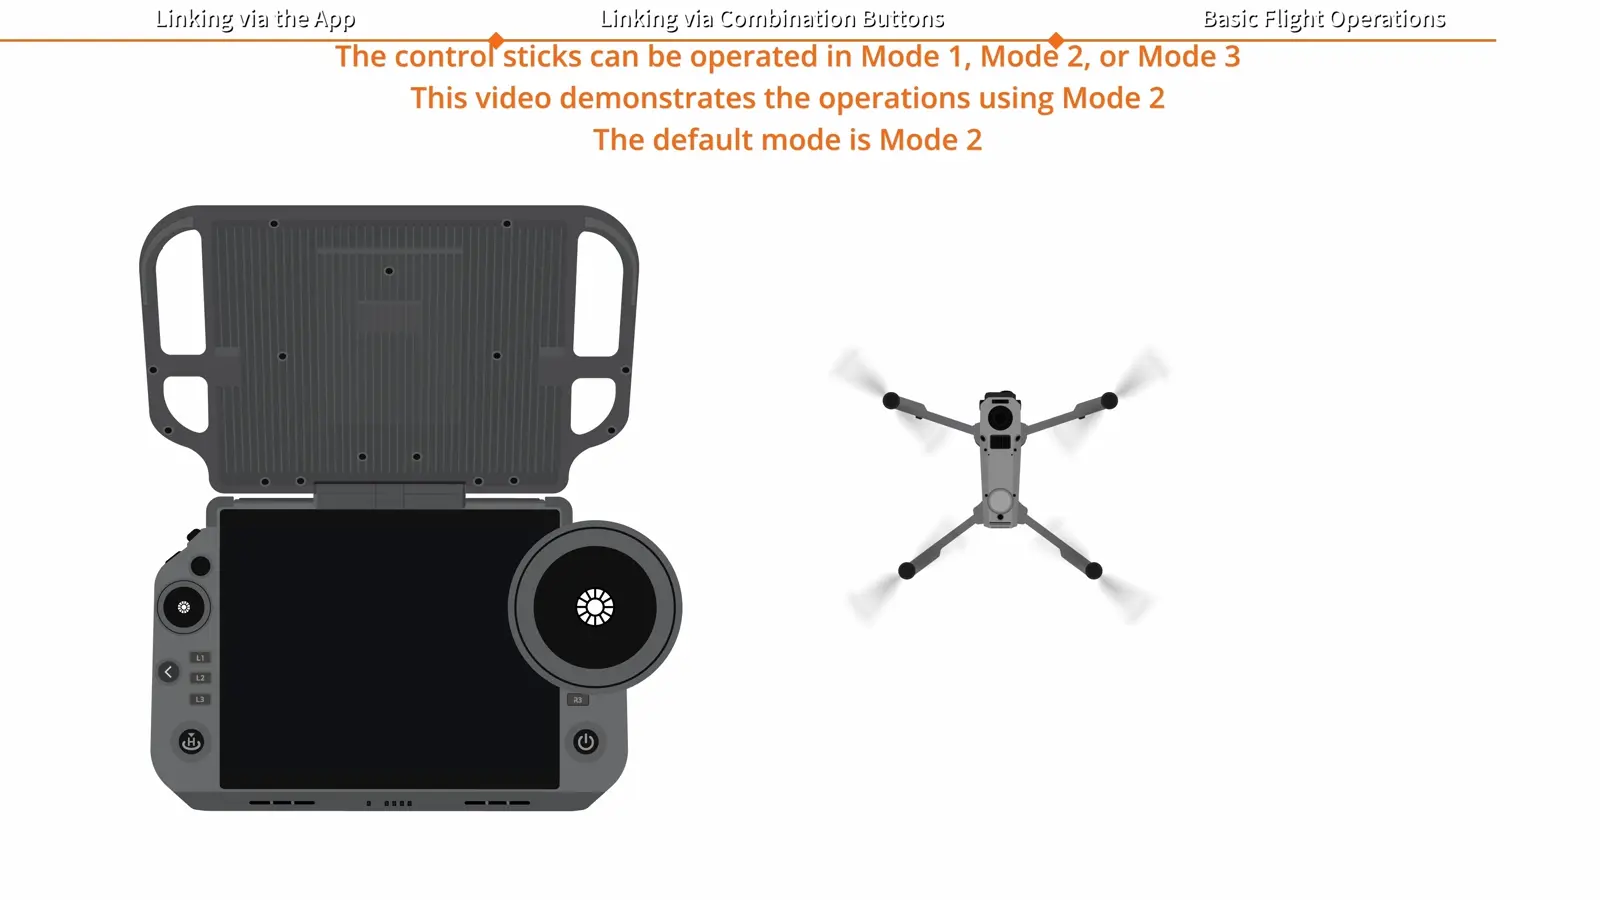
In Mode 2, the left stick controls altitude and yaw; the right stick controls forward/backward and lateral movement. Confirm the selected mode and practise small, separate inputs. Return to a stable hover between movements.
5. Add the camera task
Once control inputs feel familiar, switch between wide, zoom and thermal views. Try a split-screen pairing against a stationary subject. Capture an overview and a detail image of the same location, then check that both are stored and readable.
6. Finish with a useful handover
After landing and motor stop, power down and remove the battery. Refit the gimbal protector and return the equipment to its case. Record battery state, firmware changes, accessory configuration and any observations that the next operator should know.
A repeatable routine makes the second flight easier: the equipment is organized, the operator knows the controls and the team has a clear record of readiness.
Explore all eleven lessons · Build the aircraft kit
Product references
DJI Matrice 5T specifications · DJI product FAQ · DJI tutorials. Images are frames from the supplied DJI Enterprise videos.
What do you need next?
Two quick paths: book spraying/scouting services, or explore ownership/financing options for drones and parts.
Get drone spraying, precision scouting, and variable-rate applications across Ontario. Fast scheduling and pro operation.
Browse drones, parts, and accessories. If you want a demo or need help choosing, we’ll guide you to the right setup.